Adding & Editing Images & Files
On this page:
Limecube comes with a very versatile powerful image editor.
While each plugin automatically resizes and optimizes your images to fit the area of the plugin, further image editing can make your image look perfect!
How to upload an image
This help video shows you how to upload an image.
Adding an image to an element
- Upload an image through an element
- Click on the image icon or button within the element
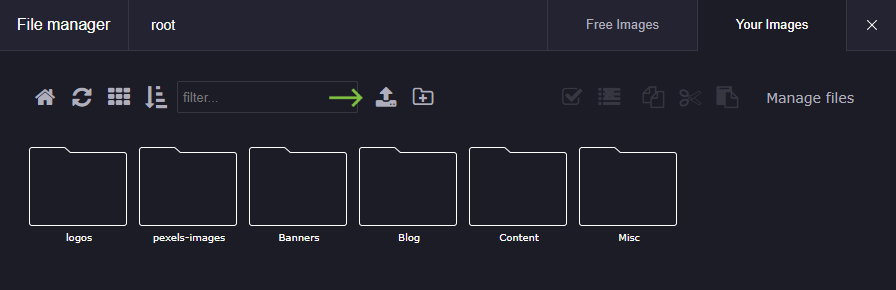
- Click the upload icon and select the image(s) you want to upload
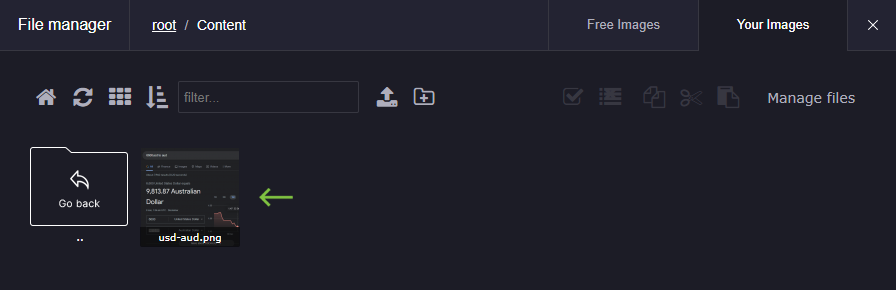
- Click on the image in the file manager to insert the image.
- Click apply to close the element. This will then apply your image to the element
Image upload help video
Images in content blocks
Image blocks help bring your website to life and increase website viewer retention rates. Limecube image blocks allow you to add individual images to sections of your web page.
You can upload licensed stock images, free stock images or your own photographs.
To add an Image to your page:
- Make sure you are on the page you wish to add the image to.
- Click on the ‘+Add Element’ Icon on the Page's Header Bar.
- Drag and Drop the Content icon onto the area of the page that you want the image to appear in.
- Click inside the content area to show the editing toolbar

- Click on the image Icon on the toolbar
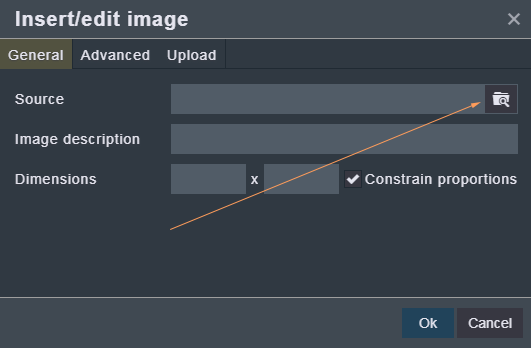
- Click on the Folder Icon and use the file manage to select the image that you want to add.
- Navigate to your image, and click on the image.
- Click ok
- Click save
You have now added an image to your page.
Using Free Stock Photos
This help video shows you how you can make use of free images from https://www.pexels.com/ without even leaving your website. Pexels provide a great range of photos you an use within your website at no cost.
Adding a background image to a page
This help video shows you how to add a page background image to a page. Limecube automatically sizes your image to the size of the browser, regardless of what size screen a user is viewing on.
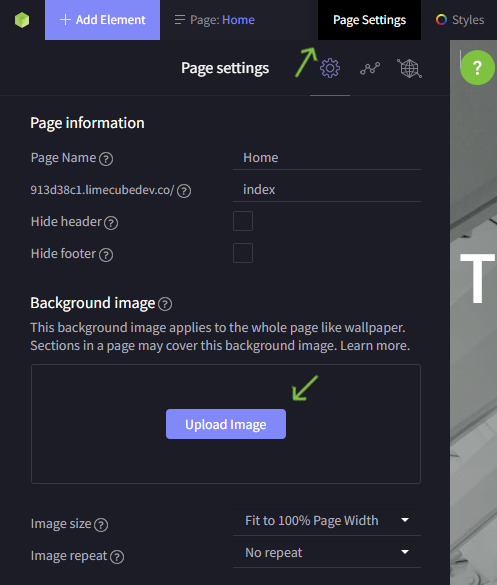
To add a page background image:
- Click the settings tab on the page you wish to add the image to
- Click upload video
- Select your 'Image size'
- Fit to 100% Page Width: This increases or decreases the size of the image to fit the full width of the screen, no matter what resolution a viewer has.
- Cover the Page Background: The image will cover the entire page background, for both width and height
- Original Image Size: This will retain the image size exactly as it is. This is most useful when used in conjunction with a pattern and setting the repeat option.
- Select if you want the image to repeat, or not repeat.
- Repeat is useful when you have a background pattern that you want to have repeat itself to cover a full page. It is generally not useful for photos.
Help Video
Uploading a file
If you want to upload and add a file to your page, such as a PDF, Word Document or other kind of file for download purposes, use these steps below:
- Click on the text you want to insert the file download to.
- Click on Insert file
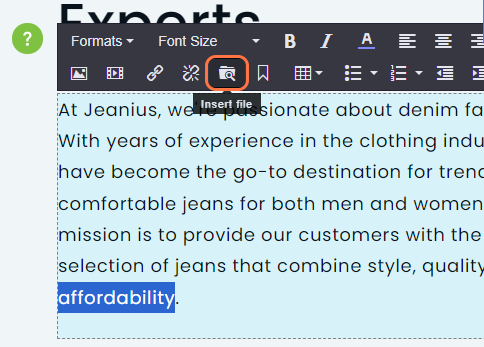
- Select your file from the file manager.
- Click on Apply
- Your file has now been inserted to that text to be downloaded.
Help video for uploading a file
This help video shows you how to upload a PDF, Word Document or other kind of file for download purposes on your website using Limecube.
Inserting a file to a button
If you want someone to download a file from a button in one of your elements, follow these steps below.
- Click on any text in a content element - this step is not to insert the file to this text, only to grab the file url.
- Click on Insert file
- Copy the link path to the file from the link field, e.g.: "https://storage.googleapis.com/limecube-cyd5977z/root%2FMisc%2FpdfFile.pdf"
- Click on X to close this popup
- Edit your button or element where you need to insert the file download
- Look for the 'link' field
- Paste the file in, e.g.: "https://storage.googleapis.com/limecube-cyd5977z/root%2FMisc%2FpdfFile.pdf"
- Click on Apply
Using the image element
Click here to learn how to use the image element.
Apple HEIC image extensions
What is a HEIC File?
A HEIC file is a type of image file format that stands for High Efficiency Image Container. This format is commonly used by Apple devices like iPhones and iPads to save high-quality photos in a smaller file size compared to other formats like JPEG or PNG. The "high efficiency" part means that you get good image quality without taking up too much storage space on your device.
Will HEIC Files Work on a Web Page?
In short, HEIC files are not widely supported across all web browsers and platforms yet. If you upload a HEIC file directly to a web page, many visitors may not be able to view the image. It's especially important to note that some commonly used web browsers like Google Chrome and Firefox do not natively support the HEIC format.
How to Make HEIC Files Web-Friendly
To ensure everyone can view your images without any issues, you'll need to convert the HEIC files to a more universally supported format like JPEG or PNG. Here's how you can do it:
- Manual Conversion: You can use photo editing software to open the HEIC file and then save or "export" it as a JPEG or PNG file.
- Automatic Conversion: There are online tools and software available that can automatically convert your HEIC files to JPEG or PNG. See below.
By converting the HEIC files to a more commonly supported format, you'll make sure that all your web page visitors can view your images without any compatibility issues.
Online Tools
- CloudConvert: This online service supports a variety of file types, including HEIC to JPEG conversions. Simply upload your files and download the converted versions.
- HEICtoJPG: This is a dedicated online tool for converting HEIC files to JPEG. It’s user-friendly and doesn’t require any software downloads.
- Convertio: Another multi-purpose file converter that handles HEIC files. It offers both free and paid options.
Software
- Adobe Photoshop: If you already have Adobe Photoshop, you can easily open HEIC files and export them in a different format.
- iMazing HEIC Converter: This is a free desktop application for Windows and Mac that allows you to convert HEIC files to JPEG or PNG.
Mobile Apps
- Luma: This app allows you to convert HEIC to JPEG directly on your iPhone.
- HEIC to JPG Free Converter for Android: If you have an Android device, this app can convert HEIC files stored on your phone.
Tags: add background image, adding a background image, image extensions
Can't find the answer you are looking for?
Try using searching below: