Integrations
On this page:
Limecube allows integrations with thousands of different platforms. While we have listed a few popular integrations below, as long as the platform you are trying to integrate Limecube with is modern, there's a high chance you'll be able to integrate that platform with Limecube.
Integrations generally come in 2 ways:
- Direct to your page - This is when the integration should only appear on a specific page.
- Site-wide - This is when an integration needs to appear/function on each page within your website. E.g. live chat.
Site-wide integrations will generally give you instructions such as adding the code to your head, body, or footer tags. You can learn more about site-wide integrations here.
Integrations with 3rd party platforms
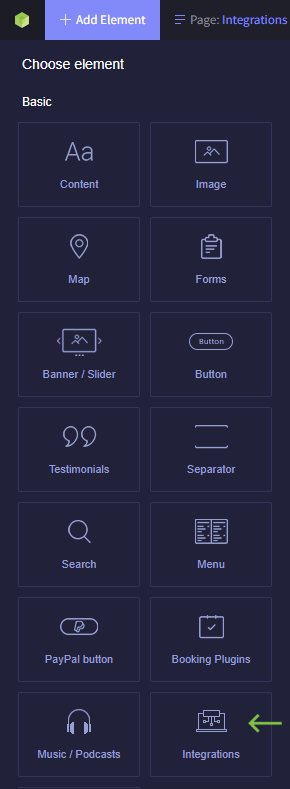
The Integrations element allows you to integrate the engines below from 3rd party platforms into Limecube.
Integration elements can be inserted by:
- Clicking 'Add element'
- Dragging 'Integrations' to the part of the page you want
- Selecting from the drop down the integration engine you wish to use.
Custom Code
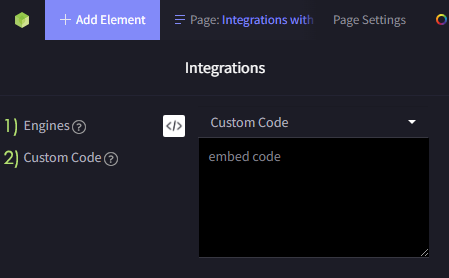
Custom code can be used for adding an embed code not showing on the integrations list. It is important to test this carefully, as code that is not properly inserted or completely can break your page. As examples, custom code is provided by a 3rd party such as a calendar, Google Ads tracking code, booking engines, calculators and other types of custom codes.
In the screenshot below:
- Choose 'Custom Code' from the from down.
- Paste your full custom code into the embed code field.
YouTube
The YouTube integration allows you to add your YouTube video with just a link, as well as the ability to make the video responsive and only show the video thumbnail by default. Learn more here.
Vimeo
The Vimeo integration allows you to add your Vimeo video with just a link, as well as the ability to make the video responsive and only show the video thumbnail by default. Learn more here.
Hubspot
The Hubspot integration allows you to embed your Hubspot form to your web page. Learn more here about how to generate the form embed code from Hubspot.
Mailchimp
The Mailchimp integration allows you to embed your Mailchimp form to your web page. Click here to learn more about how to generate the form embed code from Mailchimp.
Ecwid
To learn how to integrate Ecwid with Limecube click here.
Zapier
Form elements can be integrated to work with Zapier. Head here for instructions on how to do so.
Google Sheets
Website forms can be integrated with Google Sheets for automatic data transfer. Click here to learn more.
Jobadder
This instruction assumes you have already setup your account on Jobadder.
Once you have refer to this article and the 'JavaScript Widget' instructions.
ActiveCampaign
You can integrate ActiveCampaign with Limecube.
- CRM Integration: Click here to visit the ActiveCampaign site and find out how to setup CRM integration.
- When you get to the end of the help ActiveCampaign article with the section on 'How to install Site Tracking code', visit our Limecube support page showing how to add tracking code to your website.
- Forms Integration: Click here to visit the ActiveCampaign site and find out how to setup Active Campaign forms.
- Use the integration element described at the top of this page, and the 'Custom Code' option to add the form.
Shopify
If you're thinking about hooking up a Shopify store to your website to kick off your selling journey, you've got two solid choices.
-
The first option you've got is to set up your products within Shopify and then use the Shopify Buy Button. This handy feature lets you display these products on your existing website. What happens is, each time you put together a buy button for a product or a collection, it pops out a unique code. You'll need to add this code into your website's theme in the spot where you want your products to be seen.
Your website's visitors can then add items they fancy to a cart, right on your site. When they're all set to pay, they'll be whisked off to your Shopify checkout. All their order details will show up neatly in your Shopify admin under 'Orders'. This method gives your customers a pretty smooth experience.If you're leaning towards using the buy button on your current site and want to handle your store info in the Shopify admin, then the Shopify Lite Plan could be just the ticket. Learn how to create a button here.
To use the code that Shopify provides, use the 'Custom Code' option from the Integrations element. - Option two involves setting up a standalone website for your online store with Shopify. Once you've done that, you just need to create a space on your existing website and label it something like 'Store' or 'Shop'. This will link directly to your shiny new Shopify store.
Guru Dental
To add Guru Dental animations to your website, speak to Guru Dental to have them send you your website integrations code. Visit the Guru Dental website here.
Tags: ecommerce, online shop, job feed, employment, embed code
Can't find the answer you are looking for?
Try using searching below: