Tables
Covered in this Article
Tables can be found within elements that allow you to format content such as the content element and boxes.
Managing Tables
Adding a table
To add a new table, jump into edit mode in your content and you'll see a toolbar appear like this one below.

Click 'Table' and you'll be presented with a grid, which are your options for choosing how many rows and columns you want to start with.
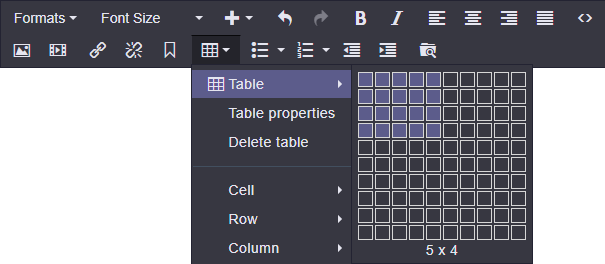
Table properties
Table properties allow you to control display aspects of your table. Limecube inherently styles a table to fit best practice, so you may wish to leave these settings as their default.

Cell and Row Properties
When creating a table, column widths are automatically created based on the number of columns you have to be split equally. At times you may want to adjust these to fit the content within the relevant column.
To do that place your mouse cursor in the cell of the column you want to adjust. Then click:
- Table
- Cell
- Cell Properties
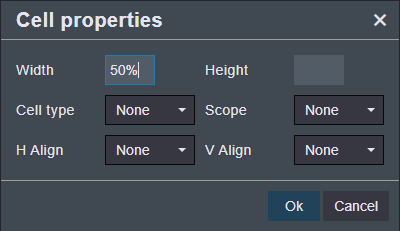
It will then bring a popup box like this one below.
The first cell allows you to change the width for that column. You will need to then go and adjust other columns so the total does not exceed 100% of the width of the area the table has been placed to.
Columns
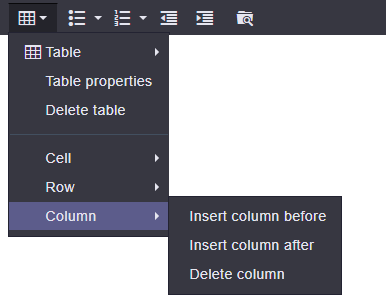
If you wish to add or remove a column from a table, put your mouse cursor into the table based on the option you want to choose:
- Table
- Column
- Select insert or delete.
Can't find the answer you are looking for?
Try using searching below: